


DIY Christmas Gifts
- Rachael Boyle
- Dec 5, 2016
- 2 min read
Day 6:
So Remember how I talked about "my broke phase", well Pinterest was my best friend in those years because it was a extremely effective way to be thoughtful but cheap. Here are 3 DIY's that are cheap, not time consuming and thoughtful.
Gold Garland:
This is allows people to get into the spirit, whether it be Christmas, New Years or what ever holiday you celebrate.
Here's what you will need:
-Card Stock
-Gold Streamer (I got this at Target a couple years ago)
-Tape
-Rubber Cement/Double Sided Tape
-Scissors
-String or Twine
You can measure this to be any length; what I ended up doing was just using one sheet of card stock and how ever many triangles I made was the length used. I didn't cut one piece of string; I added all the triangles and then at the end I cut the string. Does that make sense?
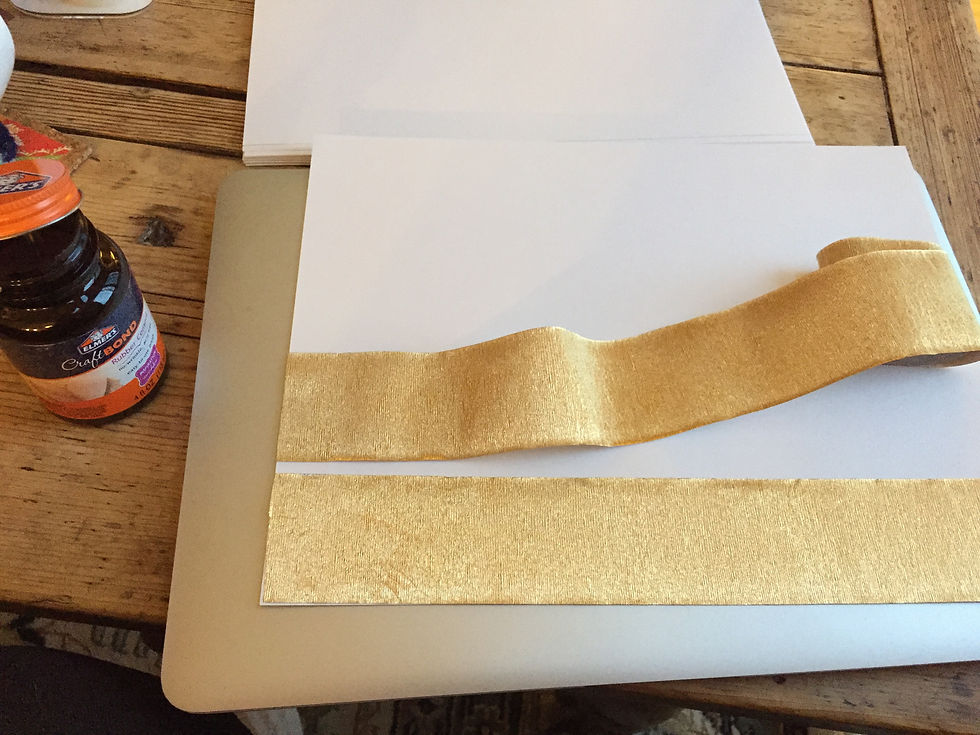
Start with a piece of card stock and either use the rubber cement or double sided tape to stick the gold streamer to the paper. I used rubber cement and then pressed down for about 30 seconds till I felt it was dry.

Once your streamer is attached to the card stock, simply cut what ever shape your heart desires in to the strips. I went with triangles, I then cut along the top of the strip so the triangle would be cut off from the paper.

Once you have all the triangle cut, assemble them in any way you want. I randomly did groups between 1 and 4 triangles together. Then just tape your triangles to the string and voila!
Snow Globe:
Here's what you will need:
-Mason Jars (make sure they have a pattern-less outside)
-Glitter
-Super Glue
-Something to put in the globe
-Water
Don't use rubber cement...Learn form my mistakes

So this is pretty simple. Just take your something (mine is a tree) and super glue it to the lid, press and hold till you feel it is secure.

While we wait for that to cure, put glitter at the bottom. I used all different colors because, why not? Once the super glue is cured, fill the jars with water, secure the lid tightly and shake. Thats it! Lets move on.
Gift Card/ Money Gift:
Heres what you will need:
-Scissors
-Double Sided Tape
-Markers
-Paper(I like this scrapbooking paper from Target)

I started by folding my red paper in half and then angled it a little so the brown would show at the top.
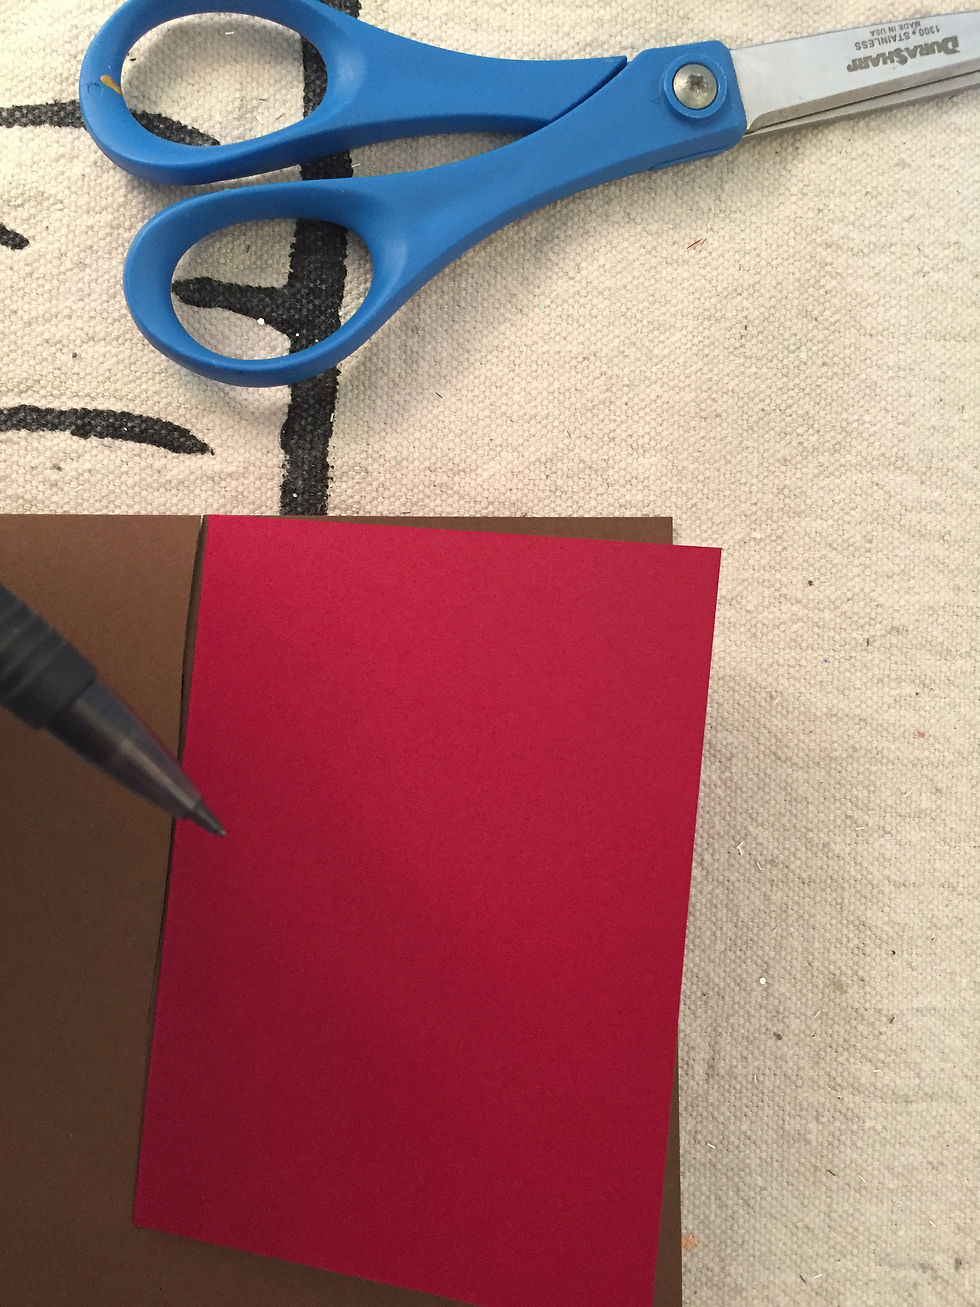
I stenciled and cut out the brown paper. Then taped it to the back of the second half of the red sheet.

On the front, with a metallic marker, I wrote Menu and colored the ends.

On the inside of the card, I wrote Merry Christmas and created a pocket with extra brown paper. I used double sided tape on both sides and clear tape at the bottom.

I then made a pair of Ice Skates to go in the pocket of my card. I'm going to also slide in some cash and give a friend a date night. I wrote on the back of the card with my note.
Please feel free to comment below if you have any questions.
See you tomorrow!
Comments